
How to make a clipart
Professional artists usually traces their sketches.
Of course, we need some software (not freeware) to do that.
It may be Adobe StreamLine, CorelTrace, CorelXara and so on.
I used Adobe StreamLine when tracing this sample,
but it is my choice. Feel free to use that you have.
Preparing.
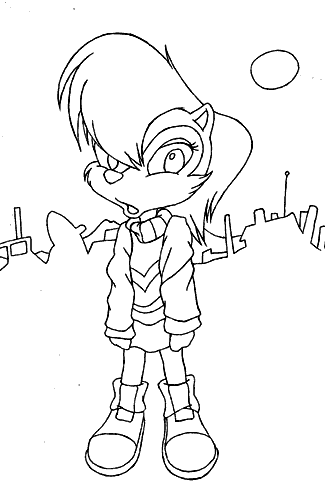
This is my pencil sketch.
I have drawn it out by ball pen and then erase pencil traces by eraser.
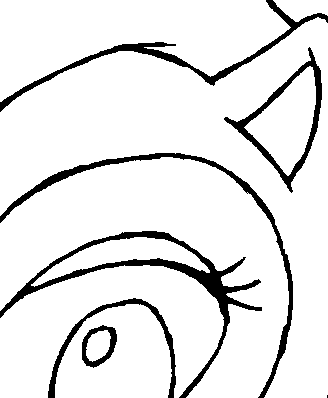
This is the result and
its part.
As you see, lines look very rough.
Tracing.
I have scanned the picture in B/W mode with 300DPI and then traced it.
And now we need export our vector image to any vector editor.
You can use any vector editor such as CorelXara,
Adobe Illustrator, or Aldus FreeHand.
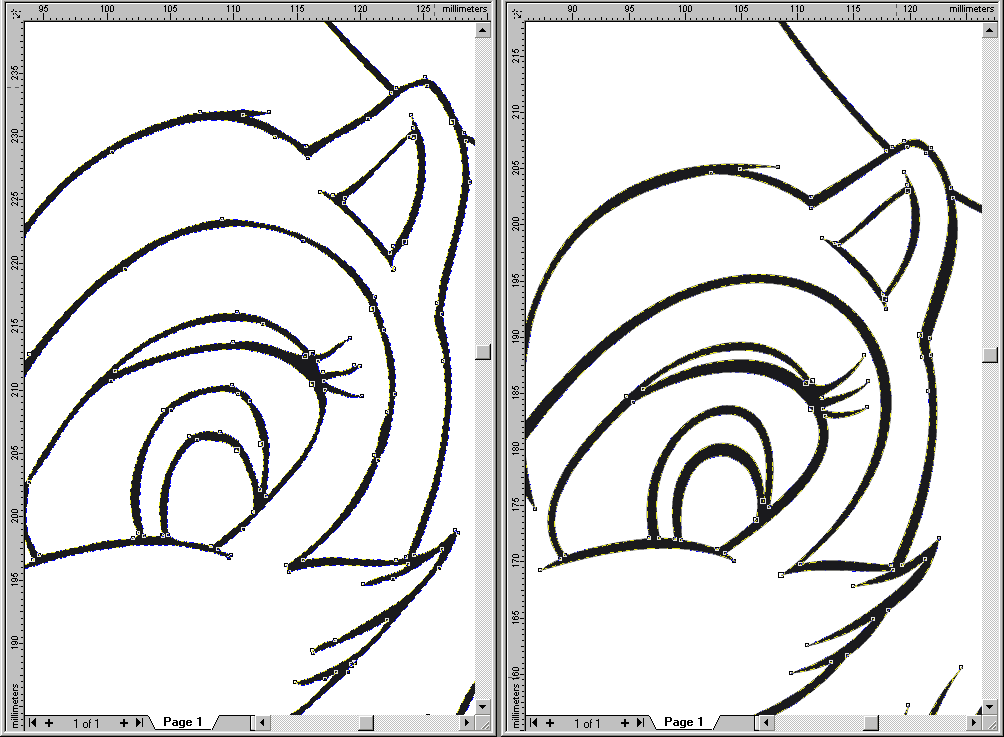
Post-tracing.
It is a hard step. We need to remove not wanted nodes in order to
all lines look smoothly.
This is a part of our picture before
and after post-tracing.
Export.
You can color your B/W clipart with a vector editor, but converting of vector
image into bitmap let us use a complex filling in future.
If you are going to use Adobe Photoshop to color,
use AI format for the export filter.
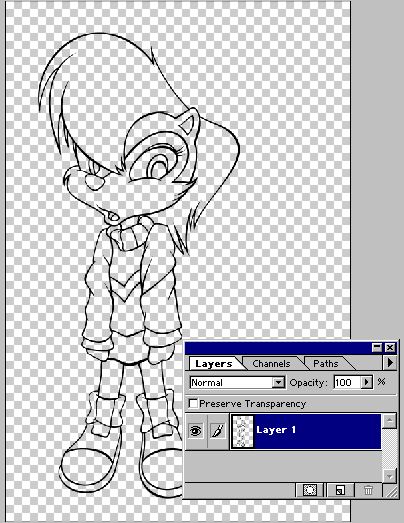
This is our exported picture in Adobe Photoshop.
I have duplicated «Layer1» and named it as «Outlines», filled «Layer1»
with white color, and created new layer «Color» between «Layer1»
and «Outlines» layers.
You may check the result.
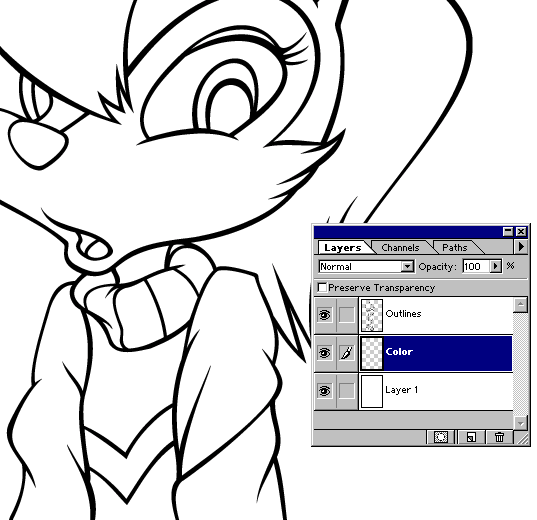
Filling up.
Select «Color» layer, select Fill tool (K), and set the parameters as shown
here.
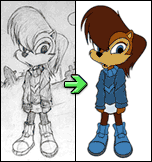
As you see, the clipart
looks much better than a pencil sketch!