
How to color a grayscale clipart right
Many fans love to color official cliparts or grayscale arts,
but get ugly results. Coloring of small grayscale picture is
not a simple procedure. I used Adobe Photoshop 5.5 for this sample,
but you may use any other powerful graphics editor like Corel Photopaint.
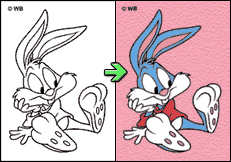
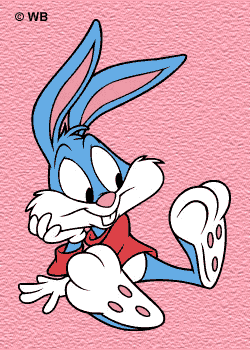
This is official
clipart of Warner Bros. studios. As you see,
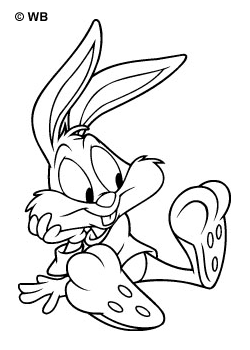
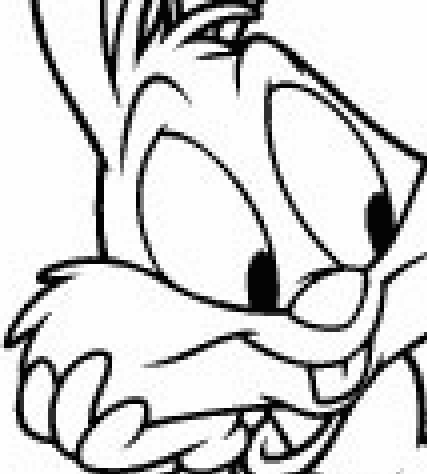
outline of clipart has many gray levels. If we will try to use «Fill» tool then
get filled regions and lost all grayscale outlines – see
sample 1 and
sample 2.
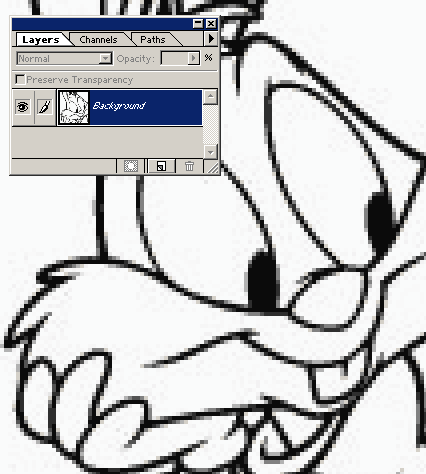
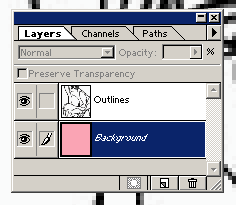
I have opened layer window,
copied «Background» into the new «Outline» level (Ctrl-A, Ctrl-C, Ctrl-V)
and then filled «Background» with a pink color.
See the stack of layers.
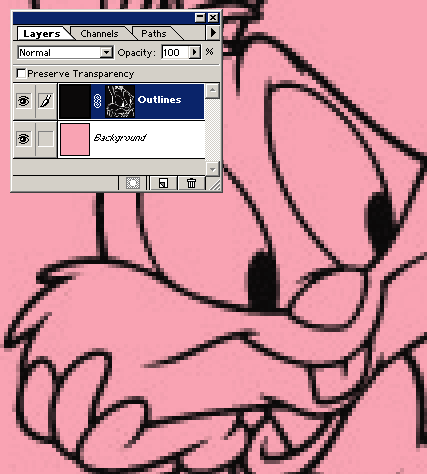
We need to prepare inverted mask: select «Outline» level,
then Ctrl-A, Ctrl-I, Edit/Define Pattern, Crtl-I. After that, I have created
the mask for the clipart: Layer/Add layer mask/Reveal All
(check the stack), selected the mask
(just clicked on the mask’s icon) and then assigned prepared negative image
(Edit/Fill…/Pattern). See the result.
And the last step – switch back to the image’s icon and fill it with black color
(Edit/Fill…/Black). See the result.
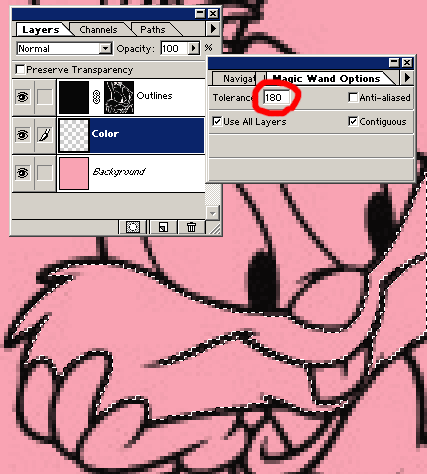
And now we need to create one level «Color» between
«Outline» and «Background». After that, I use «Magic wand» tool to select
regions. Look, we need set «Tolerance» parameter to catch all gray pixels in
our region – see the illustration. When your
selection will be prepared just fill it will desired color. By the way,
«Tolerance» parameter will be various for the different regions –
look.
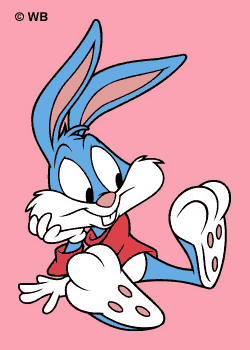
Go ahead and you will get the
colored head of Buster. And this is the
colored clipart.
After that you may draw anything in «Background» layer.
For example, I have used «sandstone» filter – see the
result.
By the way, you may color the outlines as well – just select the «Outline»
layer and paint on it!
Happy coloring!